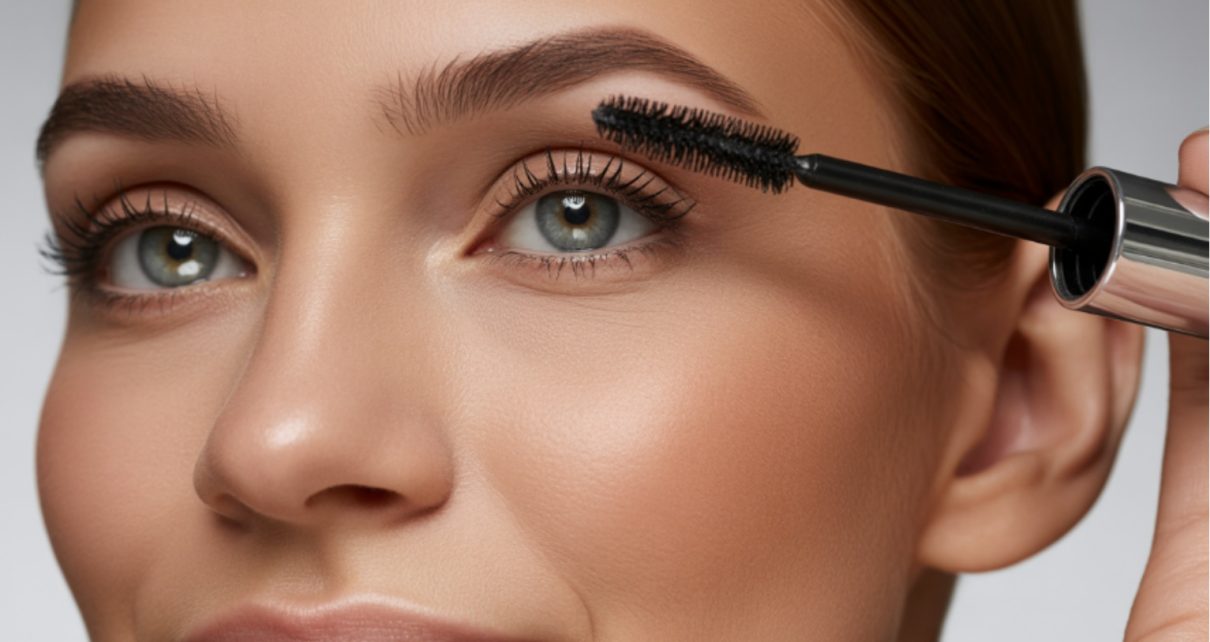
Mascara is one of the simplest products in any makeup kit, but it is also one of the most misapplied. A single coat done correctly can make your eyes look wider, your lashes longer, and your whole face more awake – without any other makeup at all. Done incorrectly, it clumps, smudges under your eyes by noon, and makes lashes look shorter and spidery.
If you have been struggling to get mascara to look the way it does in tutorials, the issue is almost never the product – it is the technique. And for Indian lashes specifically, which tend to be straighter and shorter than the lashes you see in most Western beauty content, there are a few extra steps that make a real difference. Whether you are a beginner or someone who has been applying mascara for years but never quite loved the result, this guide will walk you through everything clearly. For eye makeup built for Indian skin and conditions, check out Tezvi – a best cosmetic brand that takes Indian climate and features seriously.
What is Mascara?
Mascara is a cosmetic product applied to the eyelashes to make them appear longer, thicker, darker, and more defined. It typically comes in a tube with a wand-style brush applicator. The formula coats each lash with pigment and polymers that build volume and hold shape.
Most mascaras fall into a few categories based on what they do:
Lengthening mascaras use fibres or stretchy polymers to extend the appearance of each lash tip. They are best for people with short lashes who want a more dramatic effect without falsies.
Volumising mascaras have a thicker formula that builds up mass around each lash, making the overall lash line look fuller and bolder.
Curling mascaras contain ingredients that hold a lifted shape, giving straight lashes an upward bend that lasts through the day.
Waterproof mascaras are formulated to resist water, humidity, sweat, and tears without smudging or running. For India’s climate – especially in cities with high humidity like Mumbai, Chennai, or Kolkata – or for anyone with oily eyelids, a long lasting mascara that is both waterproof and smudge-proof is not just a preference, it is a practical necessity. Regular formula mascaras often run or transfer within a few hours in Indian summer conditions.
Defining mascaras have thin, precise wands and light formulas. They separate each lash individually for a clean, natural look rather than a dramatic one.
The Most Common Mascara Mistakes (and Why They Happen)
Before getting into the steps, it helps to understand what most people do wrong – because avoiding these mistakes is what separates okay lashes from great ones.
Pumping the wand in and out of the tube. This feels natural but it actually pushes air into the tube, drying out the formula faster and creating clumps on the brush. Instead, gently twist the wand inside the tube and pull it out in one smooth motion.
Starting the application at the wrong place. Most people swipe the wand from the middle of the lash upward. The correct starting point is the very root of the lash – as close to the lash line as possible. Starting at the root is what creates volume. Starting in the middle just deposits product at the tips and weighs the lash down.
Applying second and third coats too quickly. If the first coat has not dried before you add another, the product layers together into clumps. Wait 30 to 60 seconds between coats.
Applying mascara before all other eye makeup. Eyeshadow fallout and liner smudging can land on fresh mascara and ruin it. Always do your eyeshadow and eyeliner first, then finish with mascara as the very last step.
Ignoring the inner and outer corner lashes. Most people coat only the central lashes. The lashes at the inner and outer corners, when coated, are what give eyes their wide-open, almond-shaped appearance. These small lashes make a surprisingly large difference.
Step-by-Step: How to Apply Mascara Correctly
Step 1 – Curl your lashes first (especially important for Indian lashes)
Indian lashes tend to grow downward or straight out rather than upward, which means mascara alone often does not create the lifted look you see in beauty content. An eyelash curler used before mascara dramatically changes the result. Place the curler at the base of your upper lashes, close gently, hold for 5 to 7 seconds, then release. Never curl after applying mascara – the lashes will stick to the curler and break.
If you do not have a curler, push your lashes upward gently with a fingertip while the first coat is still wet, then hold for a few seconds.
Step 2 – Wipe off excess product from the wand
After pulling the wand out of the tube, lightly scrape one side of the brush on the inner mouth of the tube to remove excess formula. This prevents the first stroke from depositing too much product in one place and creating clumps before you even start.
Step 3 – Apply to upper lashes with a zigzag motion
Hold the wand horizontally and place it at the base of your upper lashes. Move the wand in a small zigzag or side-to-side motion as you push upward from root to tip. This zigzag movement separates each lash and distributes product evenly along the full length, rather than just painting the surface. Do not rush this step – slow and deliberate application gives better separation and volume than quick strokes.
Pro hack: Hold a spoon or a business card behind your lashes while applying. This catches any stray mascara before it lands on your eyelid or your eyeshadow.
Step 4 – Coat the inner and outer corner lashes
Tilt the wand vertically and use just the tip to coat the short lashes at the inner corner and outer corner of each eye. These are the lashes that, when defined, make eyes look significantly larger and more open.
Step 5 – Let the first coat dry before adding a second
If you want more volume or drama, a second coat works well – but only once the first is fully dry. This typically takes 30 to 60 seconds. Applying on wet mascara causes the two layers to merge into clumps instead of building separate volume.
Step 6 – Apply to lower lashes (optional but impactful)
Lower lash application gives eyes more definition and depth, particularly for a full makeup look. Use the very tip of the wand for this, with the wand held vertically. Light strokes only – lower lashes need much less product. Keep a cotton swab nearby to clean any stray dots from the skin.
Step 7 – Separate any clumps immediately
Once your final coat is on, take a clean spoolie brush (or the cleaned-off wand from an old mascara) and comb through the lashes while the product is still slightly wet. This separates any lashes that have stuck together and gives a cleaner, more defined finish.
How to Keep Mascara from Smudging in India’s Climate
Smudging and the classic panda eye effect by midday is one of the most common mascara complaints in India, and it is almost entirely caused by humidity, oily eyelids, or the wrong formula.
Use a waterproof formula in summer and monsoon. Waterproof mascara is specifically formulated to resist moisture and does not break down from sweat or humidity the way regular formulas do. If your mascara consistently smudges within a few hours, switching to a waterproof version is the single most effective fix.
Apply a thin layer of translucent powder on your eyelids before starting. This absorbs the oils that cause mascara to transfer. It takes ten seconds and significantly extends how long the mascara stays put.
Apply a setting spray after completing your full eye look. A light mist over closed eyes seals everything in place.
Do not touch or rub your eyes. Oil from your fingers and the mechanical rubbing breaks down mascara faster than almost anything else.
Mascara Hygiene and Shelf Life
This part is important and most people do not know it.
Mascara has a very short shelf life compared to most makeup products. Once opened, mascara should be replaced every 3 months. The tube is a warm, moist environment that bacteria find ideal. Using old mascara is one of the most common causes of eye infections, styes, and irritation. The moment you notice the formula smelling different, drying out, or changing in texture – replace it, regardless of how much product is left.
Never share mascara with anyone. Eye infections spread easily through shared mascara wands, even between people who appear to have no visible irritation or infection.
Removing Mascara Correctly
Removal matters as much as application, particularly for waterproof mascara. Scrubbing at your lashes with a regular face wash to remove waterproof mascara damages lashes and thins them over time.
Use a dedicated eye makeup remover or an oil-based cleansing balm. Soak a cotton pad, hold it gently over your closed eye for 10 to 15 seconds to let the product dissolve the mascara, then wipe downward without rubbing. Repeat until the cotton comes away clean. Following with your regular cleanser removes any remaining residue around the eye area.
Never go to sleep with mascara on. Flakes from dried mascara can scratch the eye surface overnight and cause inflammation.
Mascara is one of the fastest, most high-impact tools in makeup – two minutes of the right technique can change the entire look of your face. Start at the root, zigzag upward, let coats dry between applications, and choose a waterproof formula if you live anywhere with humidity or heat. Once the technique is right, the results speak for themselves.